

I really am a bad hippie - my first tie dye experience.
Posted by Maureen Jones on
What kind of horrible hippie am I?
I have never tie dyed anything...not even the obligatory summer camp tie dye. I have no idea how I managed that, but here I am 42 and a tie dye virgin.
As many of you know I run two small businesses and one is call bad hippies <<< (click there to check it out & of course buy stuff) - well I have earned that title with my lack of the quintessential hippie tie dye experience.
NO MORE I SAY!
As a beginner I did what we all do and googled tie dye kits. I grabbed two varieties made by Tulip you can get these all over the place including here. And since I am all about instant gratification I grabbed one for a local store and grabbed a pack of v-neck 100% all cotton undershirts. You will need to make sure you are using an all natural fiber shirt and not a blend, because the dyes won't adhere. And ain't no one got time for a tie dye fail. I also grabbed a twin set of all cotton white sheets to dye for a table covering and possibly at some point to hang in our craft booth like tapestries. Oh and one 18 month all cotton t-shirt for grandthing #2s first birthday.
This is by no means a comprehensive list of how to tie dye, for that you just head to YouTube and catch up on a few videos and you are good to go.
Start by pre-washing whatever you are dying. New clothing can contain sizing and such that will screw with your tie dying. Do NOT use any type of fabric softener and use the most natural laundry soap you have. I dyed right out of the washer using the wet method...
Some sites recommend soaking the items in soda ash prior to dying to help the colors adhere and such. One of my kits came with soda ash so I used it on my second go around.
HINT: Soda ash is sodium carbonate...which you can find in lots of grocery and super stores in the laundry aisle labeled as Arm & Hammer Super Washing Soda or you can get it on Amazon click here to see what it looks like.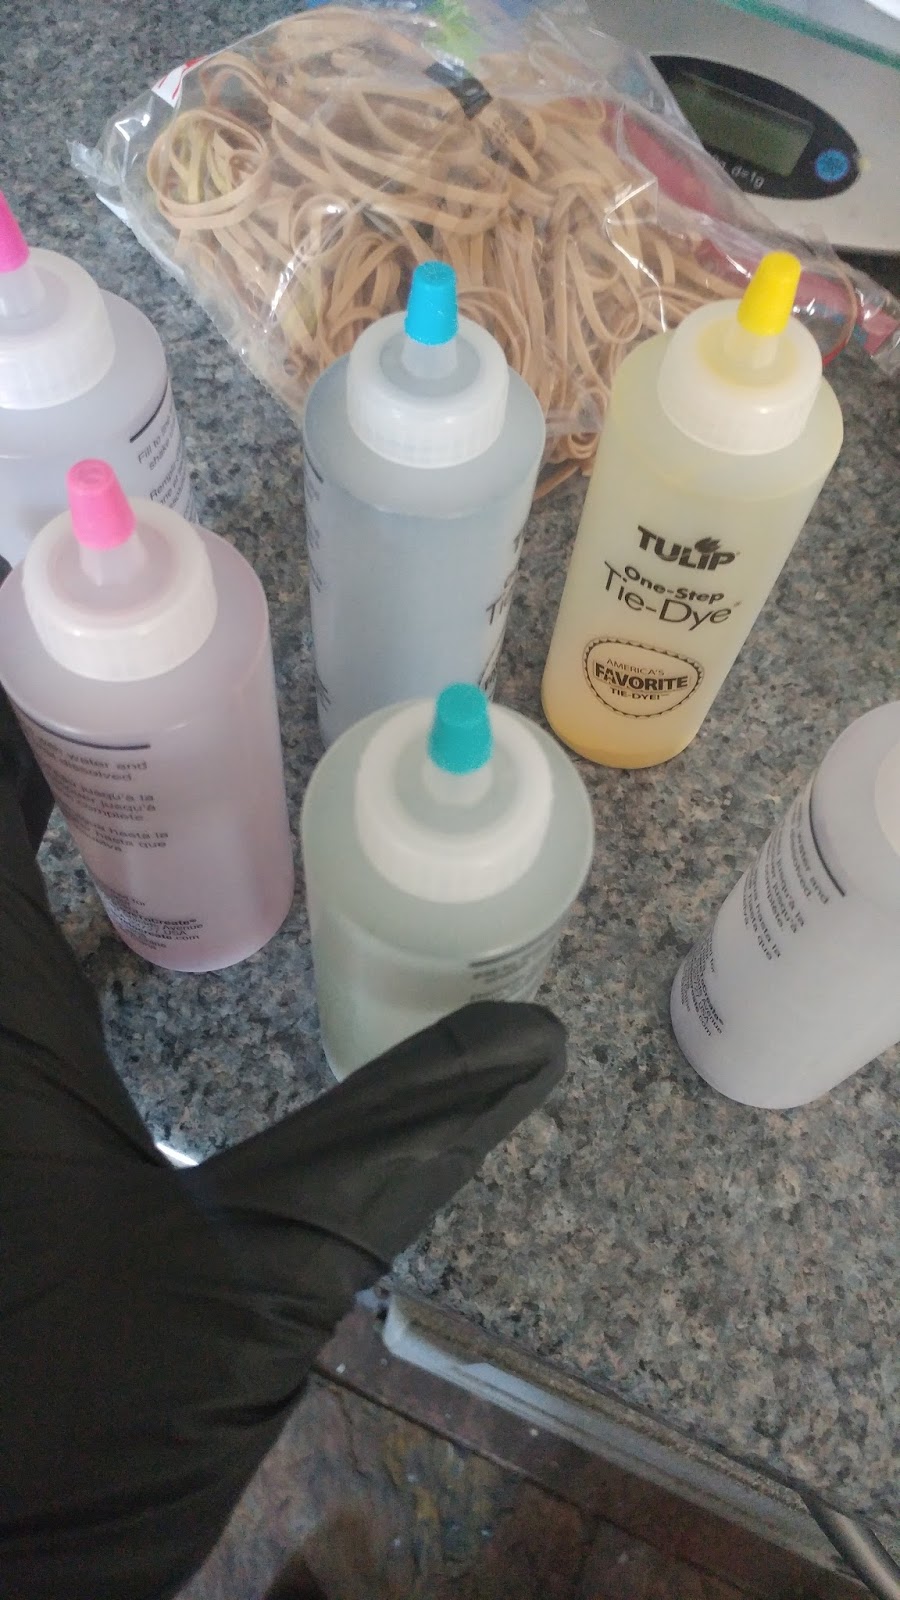
Yes, wear gloves or make sure you have on hell of a good exfoliator for after...(this is coming from a woman who dyes their roots about every two weeks and never ever ever ever wears gloves for that - this is way different!).
NEXT:
The dye is super easy to mix, you just add water and shake it like a shake weight. The directions that came with the kit were pretty easy to follow and the patterns were surprisingly easy to achieve
Break out the rubber bands!
Now to twist and swirl and band up your items and get crazy with the dye. As I have mentioned in previous blogs sometimes I am really horrible at documenting these journeys, but you will get the idea. If you are seeking to create something specific I am quite sure YouTube and Google have you covered.

I went with a few of the basics and classics.
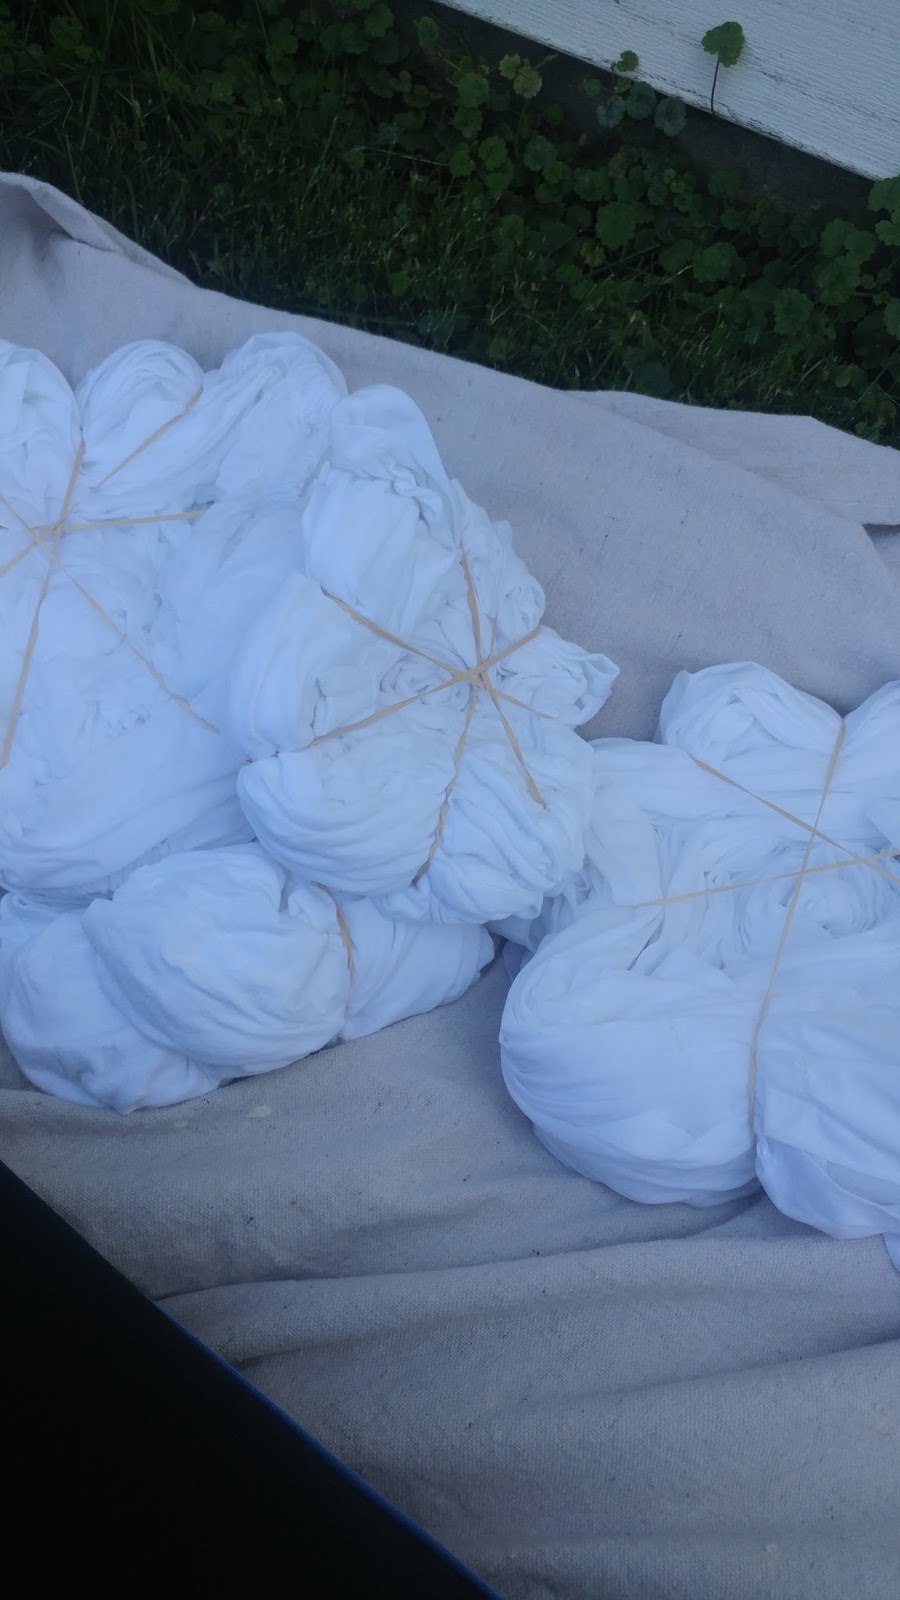
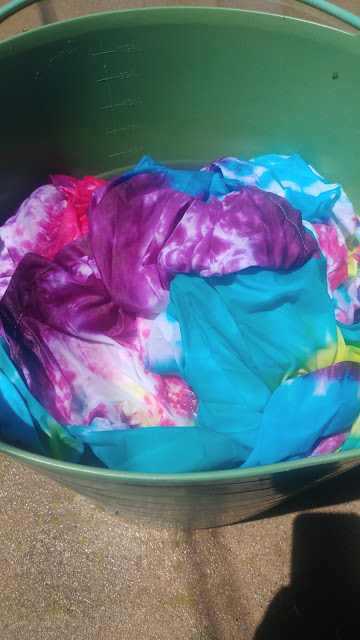
I moved outside with the banded goods and sat on an old drop cloth in the back yard and went to town!There are zero right ways and wrong ways to tie dye there are no bad color combinations so just jump and make it happen.
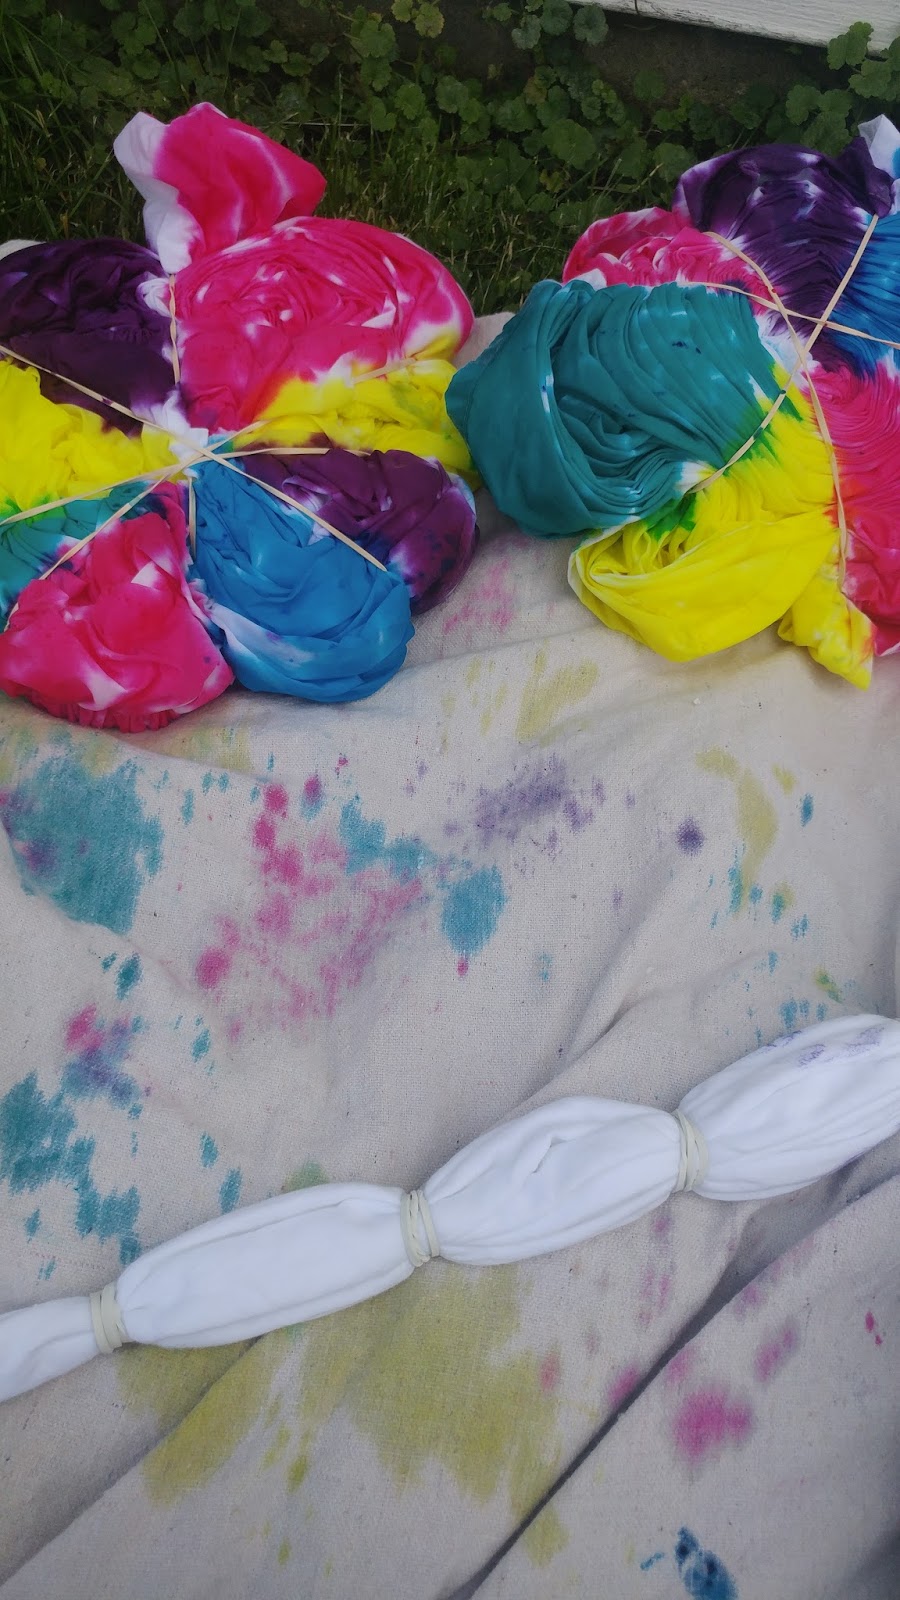
It did get messy and I am sure I could be more careful in how I apply the dye and how close to the bands you get...but I was a fan of some of the blending of colors and yes yellow and blue do make green!
HINT: Another lesson learned was...if you scoot around on the drop cloth, you will dye whatever touches it, including yourself. The next day at an event I realized I had tie dyed my legs as well.

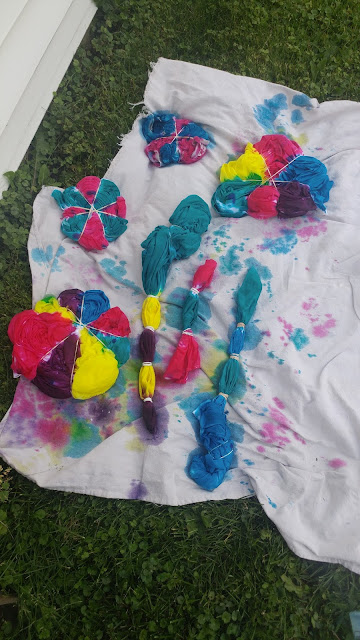
HINT: WEAR GLOVES WHEN YOU ARE UN-BANDING THOSE SUCKERS. GLOVE FAIL!
After that you are going to wash the dyed items. Use the warmest water you can get away with and you may need to run it through more than once...
Now let those suckers dry and bam you have created something amazing. See you can do creative!
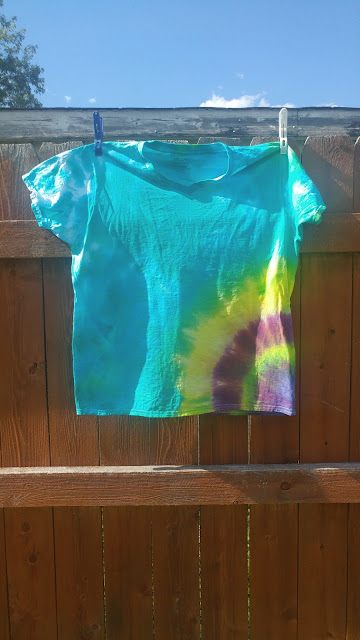
One of the t-shirt creations.
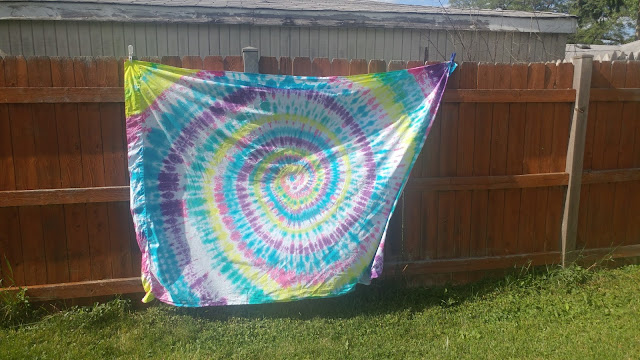
The twin flat fitted sheet. I love this!!!
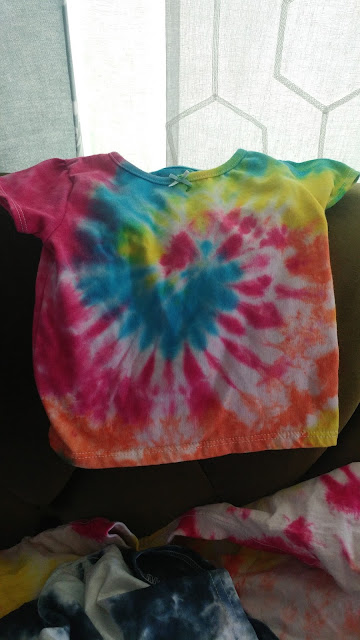
And here is the baby tie dye!!!
It turned out super cute!
Go now...you know you want more tie dye in your life...
What should I tie dye next?
Share this post
- 0 comment
- Tags: bad hippie, cotton fabric, creative, dye, hippie, tie dye